
 Mon – Fri 7:00 AM – 4:00 PM
 + 48 (52) 386 03 48


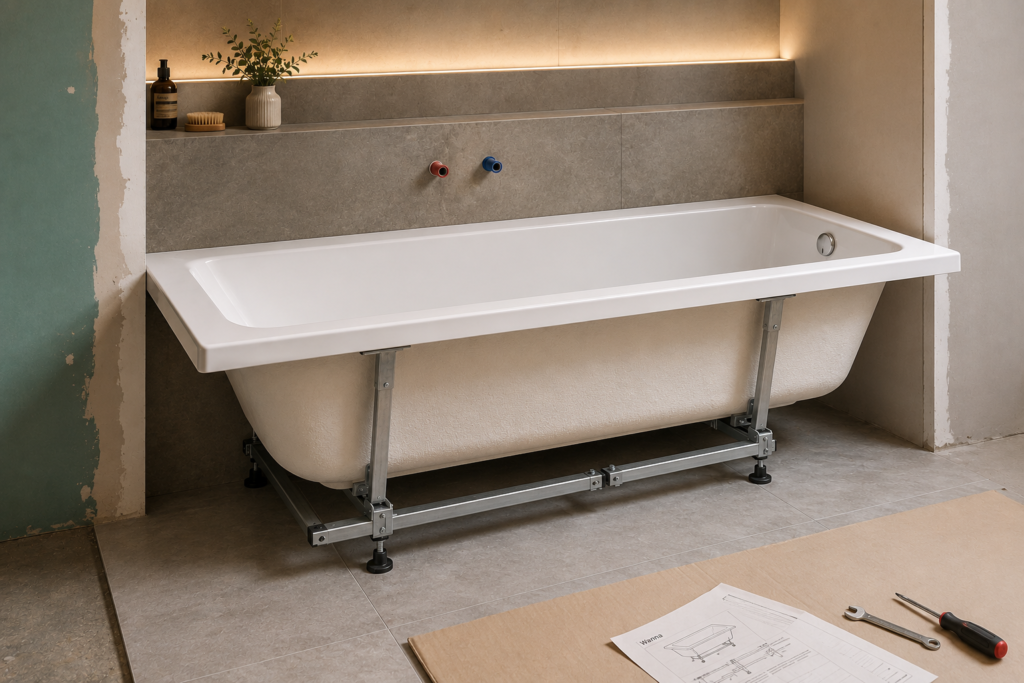
Installing a bathtub is one of the key stages of a bathroom renovation or new build. To ensure years of trouble-free use and avoid unpleasant issues such as leaks or sewer odors, it is essential to choose the right waste and overflow set and install it correctly.
What Makes the Akces Bathtub Waste (Part No. 19975P) Stand Out?
Before starting the installation, it’s worth taking a closer look at the features and advantages of this model:
- Automatic stainless steel pop-up waste – allows convenient opening and closing of the drain without getting your hands wet.
- Stylish chrome control knob – mounted on the overflow, perfectly matching modern bathroom fittings.
- Rotating Ø50/40 mm outlet – makes it easy to align the drain with the existing waste pipe in the wall or floor.
What You’ll Need
Before you begin, make sure you have the following items ready:
- Akces 19975P bathtub waste and overflow set, complete with all seals and the reducer included in the package,
- Flat-head or Phillips screwdriver (for tightening the waste screw),
- PVC pipe lubricant (or a small amount of dishwashing liquid) to ease the installation of push-fit connections,
- A cloth and a small container to catch any water during the leak test.
Step-by-Step Installation Guide
Step 1: Prepare the Bathtub and Work Area
Before installation, ensure that both the drain hole and the overflow opening are clean, free from grease, and clear of any construction debris.
Step 2: Install the Overflow Assembly (with Control Knob)
- Position the overflow body on the outside of the bathtub, making sure the shaped rubber gasket is placed between the overflow body and the bathtub wall.
- From inside the bathtub, fit the overflow retaining plate and secure it to the overflow body.
- Attach the chrome control knob to the spindle of the automatic waste mechanism.
Step 3: Install the Drain Assembly
- Position the lower waste body together with the bottom gasket underneath the drain opening in the bathtub.
- From inside the bathtub, place the stainless steel drain flange with the upper gasket over the drain opening.
- Connect both parts using the brass/stainless steel fixing screw, tightening it from above with a screwdriver. Tighten the screw firmly but carefully, ensuring the seals compress sufficiently without being damaged.
- Check that the flexible connecting hose between the overflow and the drain runs freely and is not twisted or kinked.
Step 4: Install the Trap and Adjust the Rotating Outlet
One of the key advantages of the Akces 19975P is its rotating outlet.
- Connect the trap body (lower trap elbow) to the threaded outlet of the bathtub drain using the compression nut and conical seal.
- Rotate the trap body toward the waste pipe. Thanks to the rotating outlet, the drain can be aligned at the optimal angle, reducing stress on the pipework and simplifying installation.
Step 5: Connect to the Waste Pipe
- Connect the bathtub trap to the building drainage system using the supplied reducing outlet connector.
- Before inserting any lip seals, apply a small amount of lubricant to ensure smooth assembly and proper sealing.
Step 6: Adjust and Install the Automatic Pop-Up Waste
- Insert the stainless steel pop-up waste plug into the drain opening.
- On the underside of the plug there is an adjustment screw with a lock nut. Turn the overflow control knob to check whether the plug raises and lowers to the correct height.
- Adjust the screw length so that, in the closed position, the plug seals the drain completely, and in the open position, it allows unrestricted water flow.
Step 7: Perform a Leak Test Before Enclosing the Bathtub
Before installing the bathtub panel or tiling around the bathtub, always carry out a leak test.
- Close the waste plug and fill the bathtub with water above the drain level. Check all drain connections and the trap for any signs of leakage.
- Continue filling the bathtub until water reaches the overflow level to verify the seal around the overflow assembly.
- Open the waste using the control knob and allow the bathtub to drain completely. Carefully inspect all threaded connections, the flexible hose, and the connection to the drainage pipe.
- If all connections remain completely dry, the installation has been completed successfully.